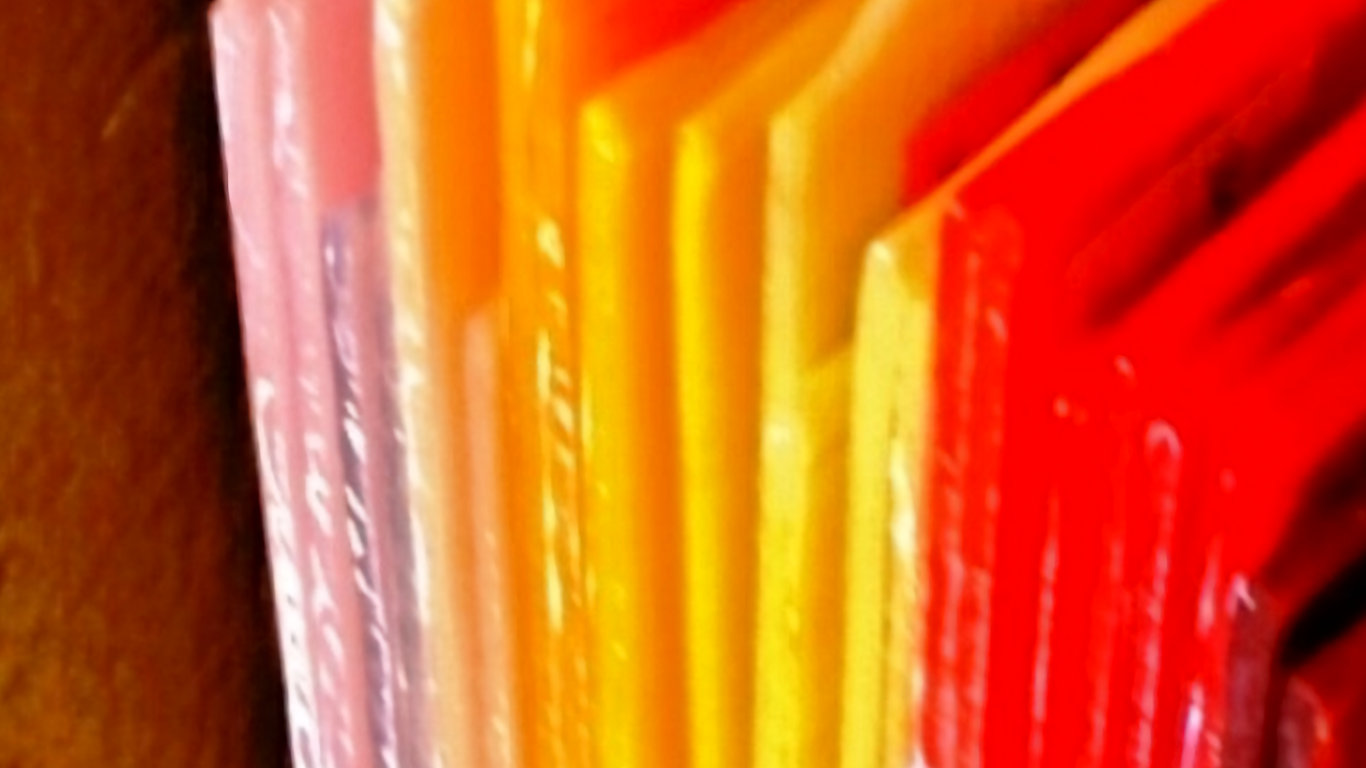
Glass fusing gone wrong and the lessons behind the mess
Glass fusing is a magical process — you layer up beautiful bits of glass, close the kiln, and wait for the fire to do its thing. But what nobody tells you when you’re starting out is that your kiln will betray you. At least, that’s how it feels when you open it and your expected masterpiece looks like a melted, cracked, or bubbly mess.
If this sounds familiar, don’t worry. Every fused glass artist has been there. The good news? Most of these problems are easy to fix or avoid — once you understand what went wrong.
Here are five common fusing fails and how to fix (or better yet, prevent) them.
The Blob: Overfired Glass
The fail: You open the kiln, excited, and find that your beautiful dish or panel has turned into a shapeless, flat, featureless puddle.
What happened: You likely fired too hot or held at full fuse temperature for too long.
The fix: Check your firing schedule. A full fuse is typically around 1460°F to 1500°F, with a short hold time. If you hold too long or overshoot the temp, the glass won’t just fuse — it will flow. Cool for slumping? Not for structure.
How to prevent it:
Use a digital controller and verify that your thermocouple is calibrated.
Follow a tried-and-true fusing schedule, not a guess or assumption.
Remember: glass loves precision.
Cracked It: Thermal Shock
The fail: You hear a ping after firing — or worse, find a perfectly fused piece with a nasty crack through the middle.
What happened: Either the piece cooled too quickly, or you used incompatible glass types (different COEs — coefficients of expansion).
The fix: There’s no saving a cracked fused piece. But you can repurpose it — cut it up into jewelry or remelt it into frit. More importantly, learn from it.
How to prevent it:
Always use glass of the same COE (coefficient of expansion – e.g., all Bullseye 90 or all Spectrum 96).
Slow your cooling ramp, especially through the annealing range (typically around 950°F–1000°F).
Don’t open the kiln early, even if you’re curious.
Bubbles Galore
The fail: Your beautiful clear top layer is filled with unsightly bubbles — like acne under glass.
What happened: Air got trapped between the layers of glass and expanded during firing, creating pockets.
The fix: Minor surface bubbles might be polished out, but larger ones? Not really. Prevention is key here.
How to prevent it:
Use a “bubble squeeze” firing schedule: hold at around 1225°F to allow air to escape before reaching full fuse.
Avoid trapping air by layering larger pieces over smaller ones (never bottom-load the glass).
Clean your glass meticulously to prevent organic material from producing gas as it burns off.
Devitrification Disaster
The fail: Instead of shiny, smooth glass, your piece has a crusty, matte, or scummed-over surface.
What happened: You hit the devitrification temperature range and held too long — or your glass was dirty.
The fix: Light devit can sometimes be sanded and re-fired. But it’s usually better to avoid it than try to fix it.
How to prevent it:
Always clean your glass with vinegar and water or a proper glass cleaner — avoid soaps that leave residue.
Fire quickly through the 1300°F–1400°F range where devit tends to occur.
Consider using devit spray on pieces that are especially prone to it (like French vanilla or certain opaques).
Uneven Slumps and Funky Shapes
The fail: You slumped a dish or bowl and ended up with uneven sides, lopsided curves, or glass sliding off the mold.
What happened: Probably one (or more) of the following:
Mold wasn’t centered in the kiln
Kiln shelf wasn’t level
Glass was too large for the mold or off-center
You fired too fast during the slump phase
The fix: You can sometimes re-slump the piece if the shape is still usable. But again, prevention is easier.
How to prevent it:
Use a level to check your kiln shelf before every slump.
Make sure your mold is kiln-washed or primed properly.
Use the right size glass for your mold.
Slump slowly and gently — with a slow ramp up and a careful anneal down.
Bonus Fail: Forgotten Paper or Shelf Primer
The fail: You open the kiln to find glass stuck to the shelf like caramel to a cookie sheet. Cue the horror.
What happened: You forgot to apply kiln wash or shelf paper — or applied it incorrectly.
The fix: That piece is toast. The shelf might be too.
How to prevent it:
Always double-check your shelf prep.
Use kiln wash for reusable surfaces or thin fire paper for super clean releases.
Don’t use newsprint. Don’t guess. Kiln messes are expensive.
The Emotional Side of Fusing Fails
We don’t talk enough about how these fails feel. You pour your heart into a piece — carefully cutting, stacking, planning. Then the kiln eats it.
It’s heartbreaking. But it’s also part of the magic of glass.
Every glass artist has a “kiln graveyard” of disasters. Some even keep them on display as a reminder: we only get better by trying, messing up, and trying again.
Failure in fusing is just part of the journey.
Turning Fails Into Wins
Here are some ideas for repurposing those not-quite-right pieces:
Crack them and turn into fused mosaics
Cut up sections and use them in pendants or cabochons
Smash and re-fire into frit for textural effects
Use failures as test tiles for future firing schedules
Even if a piece isn’t what you expected, it can still be beautiful — or useful.
Glass fusing is part science, part art, and part luck. You will fail. But with every failed piece, you gain a deeper understanding of heat, chemistry, timing, and your own creative process.
So keep firing. Keep failing. And keep fusing.
Because the moment you open the kiln and everything worked — the color, the shape, the shine — it’s like magic.
And it makes every mishap worth it.